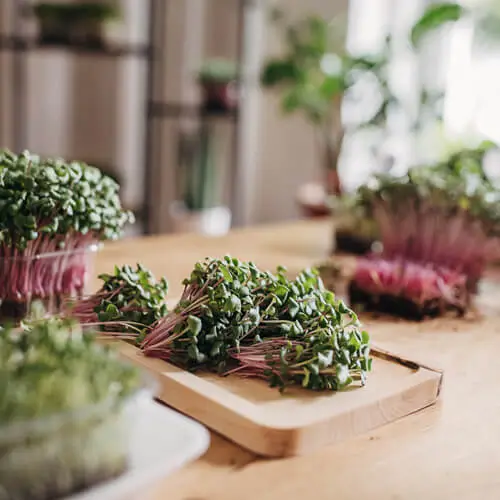
Homegardening Tip No. 1: Growing Microgreens on the Windowsill
The simplest and most efficient way to access fresh vitamins & nutrients without a garden is by growing microgreens on your windowsill. You don't need any special equipment or particular prior experience, and you always have a real superfood ready to enhance your meals.
What exactly are microgreens?
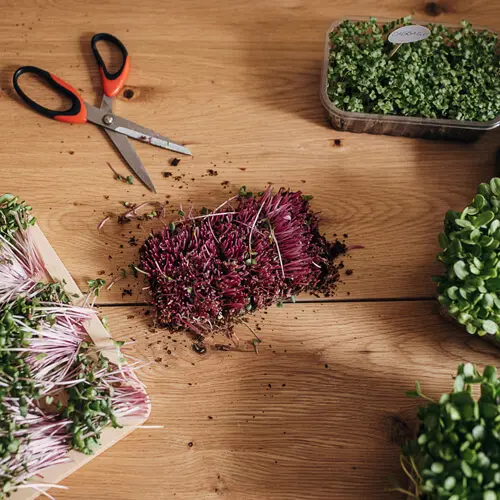
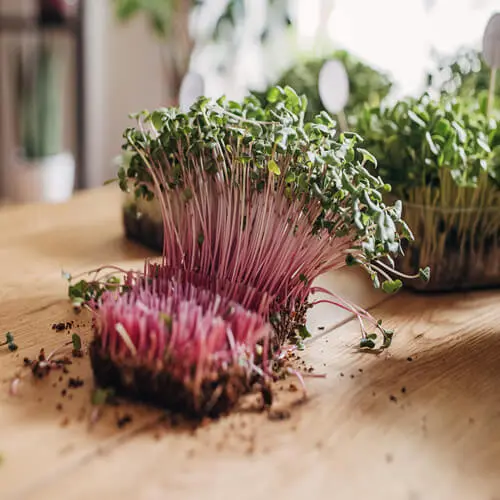
Microgreens are seedlings of vegetable or herb plants that already carry 1-2 leaves – traditionally, this is known from cress. In this early stage of development, the little plants contain a concentrated amount of nutrients and also taste significantly more aromatic than the mature plants.
Therefore, microgreens are suitable as an ingredient in salads or green smoothies, but also taste excellent as a spicy topping for your buttered bread, on burgers, or to refine grilled dishes.
What equipment do you need for growing microgreens?
The great thing about it: On a bright windowsill, the superfood thrives really well, and you can harvest it all year round. You also don't need any special equipment. Microgreens are planted in a 5-8 cm deep vessel, and it doesn't even have to be a professional germination tray. A coaster, a baking dish, or even an empty, cut-open milk carton are perfectly sufficient. You fill your vessel 3-5 cm deep with a low-nutrient germination soil, which is important because regular potting soils are pre-fertilized. This would cause the seedlings to grow too quickly and develop a less intense aroma.
From which seeds can microgreens be cultivated?
Microgreens from cress, dill, arugula, red cabbage, or quinoa seeds are most popular. But seeds from amaranth, basil, buckwheat, mustard, radishes, or coriander also produce aromatic superfood. Cabbage varieties like red cabbage, Pak Choi, or broccoli are also suitable.
To achieve a good harvest, the seeds for growing microgreens need to be sown much denser than usual. Although the soil should still be visible between the seeds, a few millimeters of space are sufficient for the tiny plants. However, special microgreens seeds are now also available in larger packages. They are not necessarily available in every hardware store or garden center, but in specialized online shops in an even greater selection.
WARNING!
Of course, there are also plants whose leaves are indigestible or even poisonous to humans. Therefore, the seeds of nightshade plants, such as peppers, potatoes, or tomatoes, are explicitly not suitable for growing microgreens. Also, the seeds of chili plants, potatoes, or eggplants should not be used for growing microgreens.
Sowing and harvesting microgreens
After spreading the germination soil 3-5 cm thick in your germination tray and densely sowing the seeds, it's best to press them down lightly. Now, take a look at the seed packet to find out whether the culture you have chosen is a light or dark germinator. Dark germinators are now covered with an additional, thin layer of soil, light germinators remain exposed on the soil surface. From now on, you must keep the seeds moist, which works best with a spray bottle. If you don't have one, be careful not to wash the seeds into a corner of your germination tray when watering.
The only tricky part of growing microgreens is preventing mold. Make sure that the seedlings are not too wet. If it's rather warm and dry in your room, you can cover the germination tray with some cling film or a germination hood. However, if it's more moist and cool, we advise against covering, as it increases the risk of mold formation.
Depending on the culture, the first cotyledons appear 10-14 days after sowing. Once leaf pairs have formed and the seedlings are about 2 cm tall, your microgreens are ready for harvest. Before cutting the superfood broadly with scissors, it's best to first try whether you like the degree of spiciness; otherwise, you can wait a few more days to harvest, and the sprouts will become milder in taste. Since the seeds remain in the soil during harvesting, they usually sprout again, so you can harvest several times from your germination tray with many cultures.
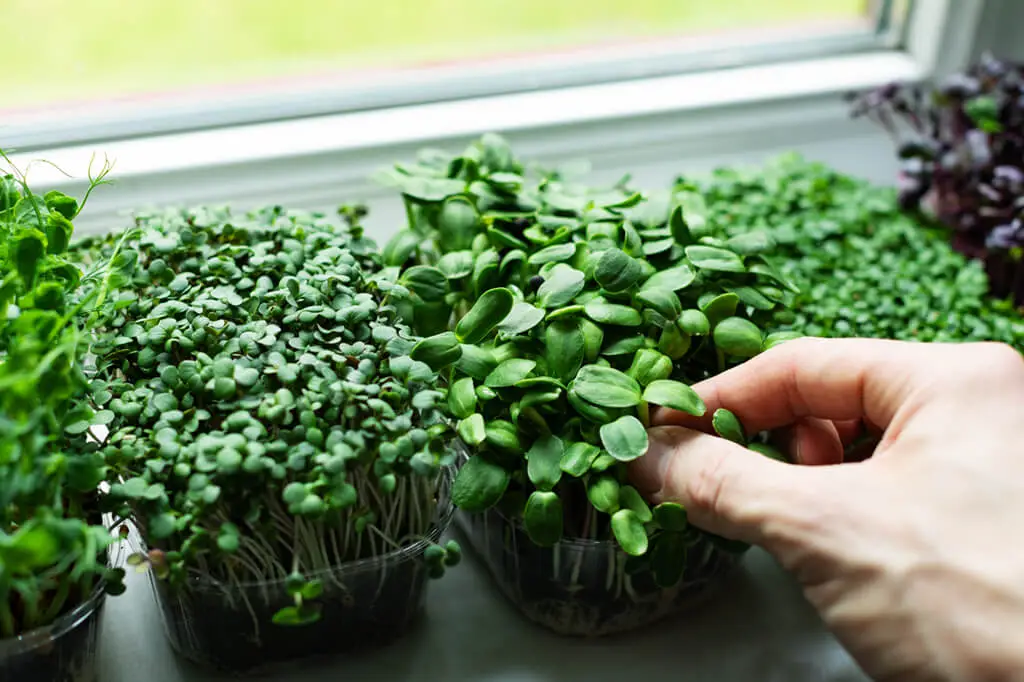
Which location is best for growing microgreens?
The best place for growing microgreens is a warm, bright windowsill without direct sunlight. The ideal room temperature is between 15 - 25 °C. If it's too dark in winter but you still want to continue growing, you can get a special LED lamp for plants.
Homegardening tip no. 2: growing fruits & vegetables on the balcony
Those who have a balcony can also grow fruits and vegetables in containers or balcony boxes in a very small space. For the kitchen garden project on the balcony to be successful, it's important to know the approximate direction of the sky and thus the approximate number of hours of sunlight. Growing tomatoes on a north-facing balcony will not be successful, while in the direct sun of a south-facing balcony, it is too hot for most types of cabbage.
Another crucial factor for a successful harvest is the size of the container. If the roots do not have enough space, the plant will hardly produce any fruit, and watering on hot summer days can become a challenge.
Which herbs and vegetables can be grown in a balcony box?
In classic balcony boxes with a depth of about 20 cm, not everything is possible, unfortunately. However, many types of herbs such as basil, chives, and parsley, or even Mediterranean herbs like thyme and oregano, have enough space. Be careful with mint or coriander, as these can grow very expansively and are therefore better planted individually in pots. Rosemary can become ancient and bloom beautifully if only planted in containers that can be protected from frost in winter.
Many types of vegetables also cope well with the limited space offer in a balcony box. These include, for example, radishes, lamb's lettuce, beetroot, arugula, or spinach. If there is enough sun, you can also provide yourself with strawberries or compact growing varieties of tomatoes or chili peppers.
For a rather shady balcony, on the other hand, forest plants that naturally require little sun are suitable. These include wild garlic, woodruff, sorrel, or watercress.
Which herbs & vegetables can be grown in a container?
Especially on balconies with a southern or western orientation, many Mediterranean herbs and vegetable varieties thrive excellently. Because the house walls store the sun's warmth, it is often a few degrees warmer on the balcony than on most terraces or in garden beds. You can use this advantage for yourself and start planting vegetables and herb plants a few weeks earlier in spring.
Due to the high temperatures, it is even more important on sunny balconies that the plants in the container have enough soil volume available – otherwise, watering up to twice a day may be necessary in summer.
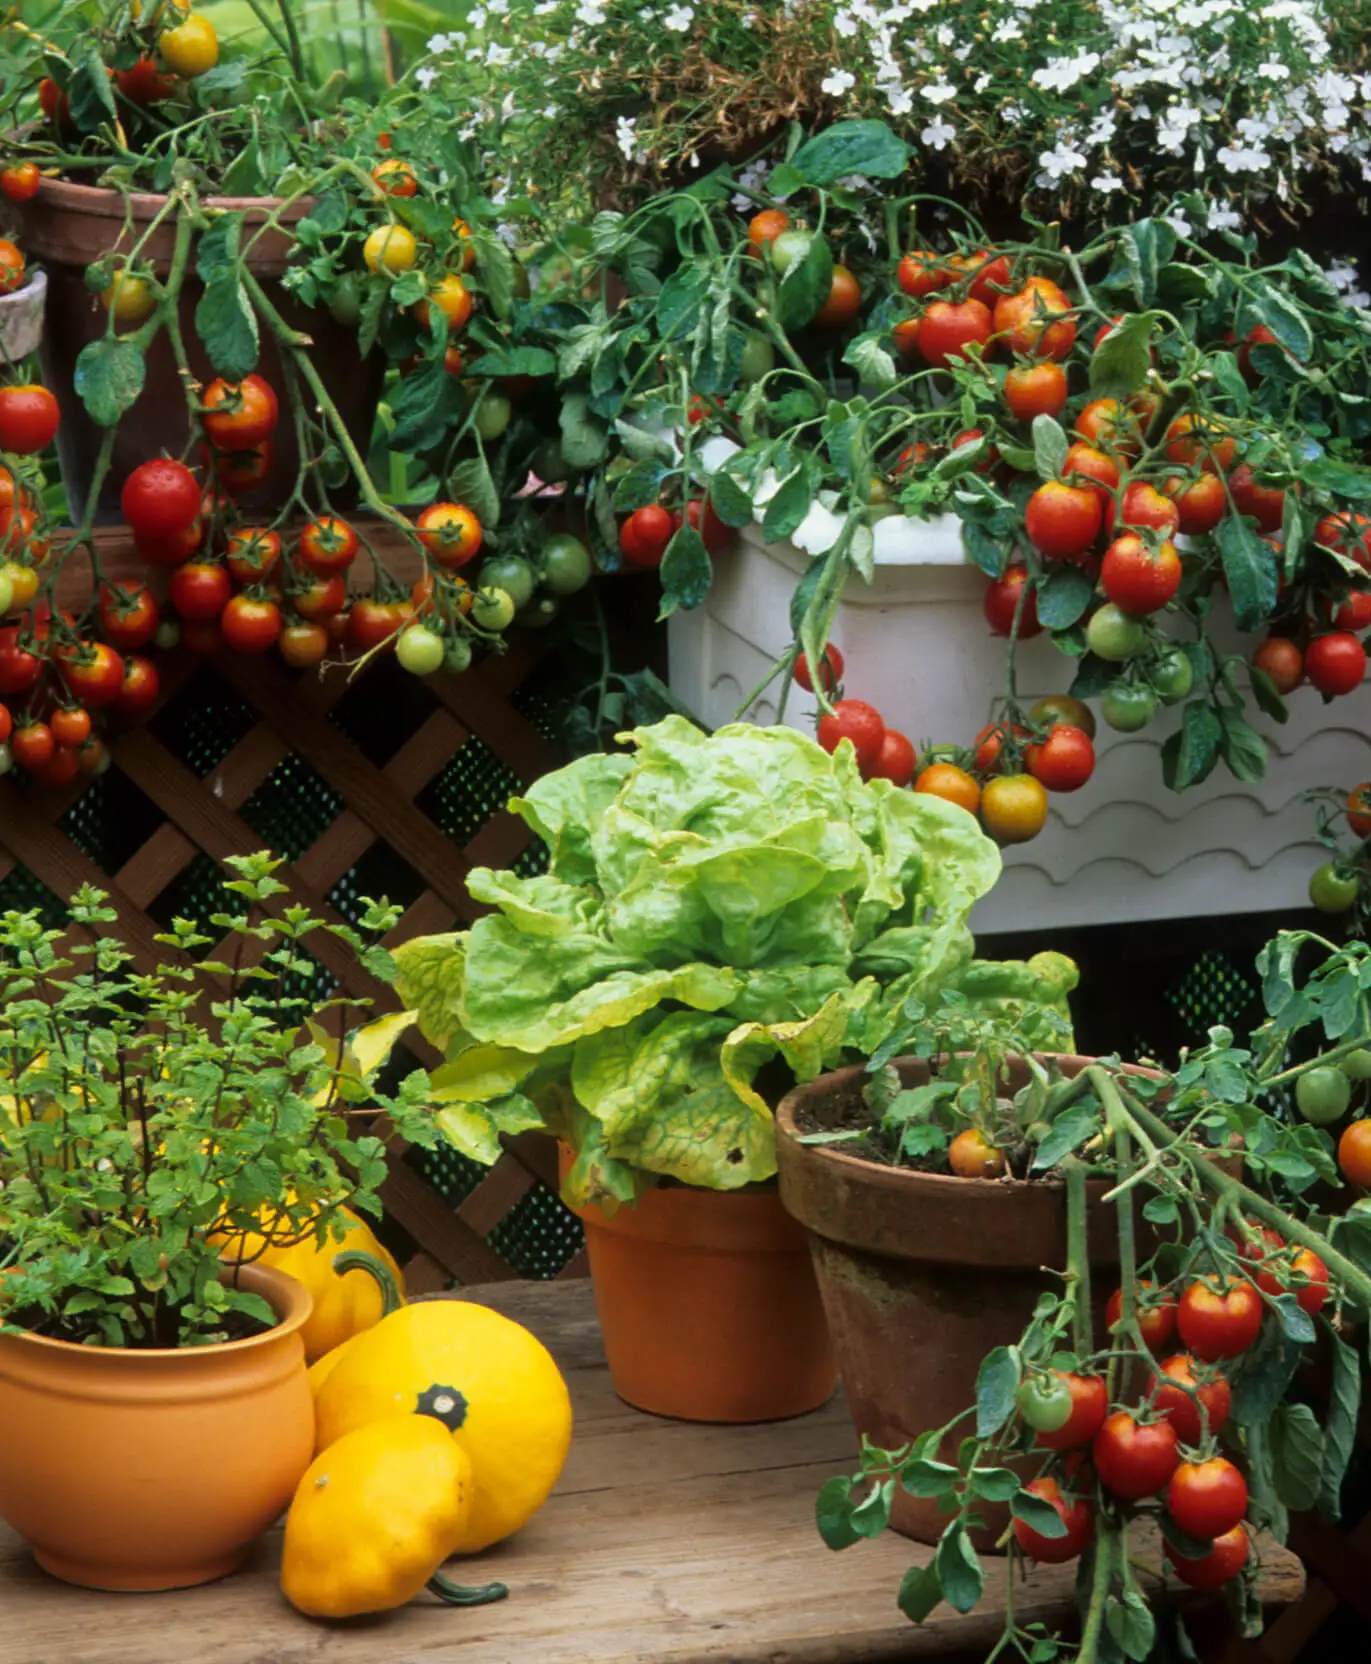
In smaller containers with a capacity of about 20 liters, you can start growing tomatoes, bush beans, peppers, kohlrabi, or chili. When selecting varieties, pay attention to those with a compact growth, otherwise, it may be difficult to provide the plants with sufficient support with stakes and metal grids.
In larger containers with 40-50 liters of soil volume, zucchini, mini cucumbers, or even small pumpkin varieties can grow. A dwarf raspberry can also find a permanent home in a container of this size.
On a rather shady balcony, unfortunately, you cannot expect a very rich harvest of tomatoes or peppers, so it's better to try with less heat-demanding vegetable varieties like Swiss chard, leaf salads, kohlrabi, or kale.
Those who have a terrace bed with a depth of 40 cm or more can also try growing carrots or potatoes. For the latter, there are now space-saving solutions in stores, such as potato barrels or special planting bags, in which you can harvest several kilograms of potatoes in a very small space over the months.
2 cuccess tips for the kitchen garden on the balcony
1. Ensure needs-based nutrient supply
Growing vegetables in balcony containers comes with many advantages. For instance, your balcony salads are much safer from snails, and also from fungal diseases lurking in the soil.
Some things that are natural in the wild work differently in a pot garden. For example, microorganisms are present in much smaller numbers in your containers than in a well-established garden bed. Accordingly, humus formation and nutrient supply of the plants proceed much more slowly. Strongly consuming plants like tomatoes or peppers will not manage to produce a tasty harvest in the limited soil of the container without additional nutrients. Other plants, such as Mediterranean herbs, quickly become too much with the additional nutrients from fertilization – they produce rather thin, limp shoots and develop a less intense aroma. Therefore, it's important to inform yourself about the nutrient needs of the respective cultures for a successful harvest from the kitchen garden on the balcony.
2. Opt for compact cultivations & dare to experiment
Compact growing vegetable cultivations for the balcony often look not only more attractive in the limited space, but they also offer less surface area for wind and can usually support themselves without the help of trellises or stakes. Therefore, we especially recommend opting for special mini varieties and balcony cultivations when growing tomatoes, cucumbers, or chili varieties. For tomatoes, these include, for example, bush, cocktail, or dwarf tomatoes. For peppers, there are compact growing varieties with names like "Medusa", "Lombardo", "Sumher", or small snack peppers with names like "Red Rinkerbell" or "Daisy".
With increasing demand, nurseries offer an ever-greater selection of cultivations suitable for the balcony, but the selection is naturally even greater for seeds, which is why it might be sensible to sow the cultures yourself. And even if it doesn't work out the first time, we encourage you to keep trying! Growing vegetables requires practice, and not every variety grows equally well in every location. Thus, it may take a few seasons of experimenting before you find the perfect tomato variety for the conditions on your balcony.
We wish you a lot of fun with planting and self-sufficiency!
Your camel active team
